

Hey there! As a supplier of spiral plate heat exchangers, I've had my fair share of experiences with installations, especially in those tricky limited spaces. So, I thought I'd share some tips on how to install a spiral plate heat exchanger in a tight spot.
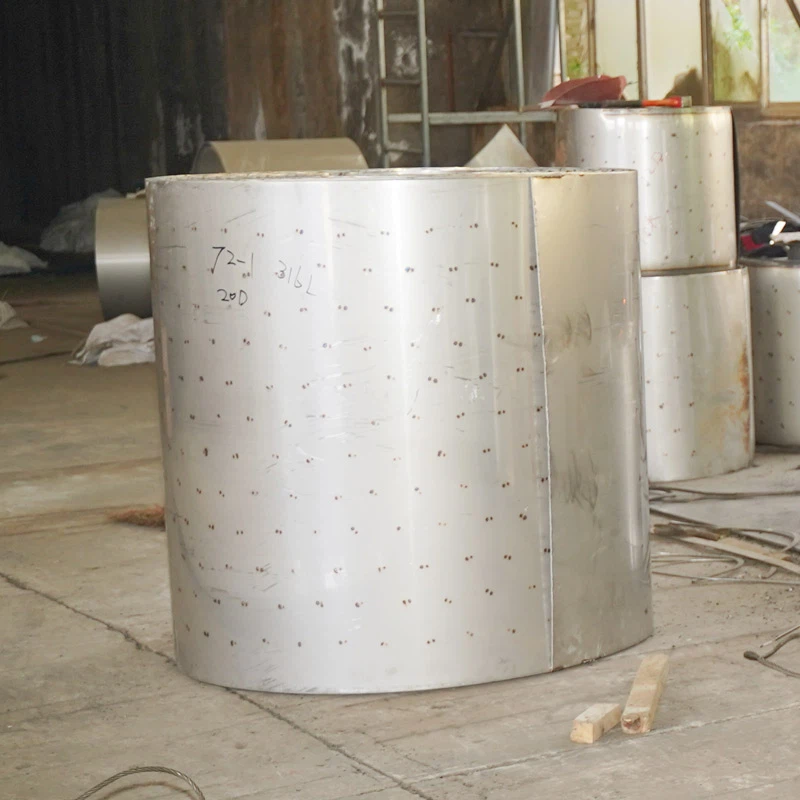

First off, let's talk about why spiral plate heat exchangers are a great choice for limited spaces. These bad boys are compact and highly efficient. They have a unique design where two long plates are coiled together to form two spiral channels. This design allows for a large heat transfer area in a relatively small volume. You can check out our Spiral Type Plate Heat Exchanger for more details on this type of heat exchanger.
Planning the Installation
Before you even start unpacking the heat exchanger, you need to do some serious planning. Measure the available space carefully. Make sure you know the exact dimensions of the area where the heat exchanger will be installed. You also need to consider the access points for maintenance and inspection. You don't want to install the heat exchanger in a way that makes it impossible to reach later on.
Another important aspect of planning is to check the infrastructure. Ensure that the floor can support the weight of the heat exchanger. You might need to reinforce the floor if it's not strong enough. Also, check the availability of utilities such as water, electricity, and drainage. You need to have easy access to these utilities for the heat exchanger to function properly.
Preparing the Site
Once you've planned everything out, it's time to prepare the site. Clean the area where the heat exchanger will be installed. Remove any debris, dirt, or obstacles. This will ensure a smooth installation process. You might also want to mark the position of the heat exchanger on the floor. This will help you align it correctly during the installation.
If the site has uneven flooring, you'll need to level it. You can use shims or a leveling compound to make the surface flat. A level surface is crucial for the proper functioning of the heat exchanger. It helps prevent stress on the unit and ensures efficient heat transfer.
Unpacking and Inspecting the Heat Exchanger
When the heat exchanger arrives at the site, unpack it carefully. Check for any damage during transit. Look for dents, scratches, or leaks. If you find any issues, contact the supplier immediately. It's better to address these problems before the installation starts.
Inspect all the components of the heat exchanger. Make sure you have all the necessary parts, such as gaskets, bolts, and nuts. Check the specifications of the heat exchanger to ensure it meets your requirements. You can find different types of heat exchangers on our website, like the Welded Spiral Plate Heat Exchanger and Stainless Steel 304 316 Spiral Plate Heat Exchanger.
Installing the Heat Exchanger
Now comes the fun part - installing the heat exchanger. Start by lifting the unit into position. You might need a crane or a forklift for this, depending on the size and weight of the heat exchanger. Make sure you have enough people to help you with the lifting. Safety is always a top priority.
Once the heat exchanger is in position, align it with the marks on the floor. Use bolts to secure it to the floor. Make sure the bolts are tightened properly, but don't over-tighten them. Over-tightening can cause damage to the unit.
Next, connect the pipes. You need to connect the inlet and outlet pipes for both the hot and cold fluids. Make sure you use the correct gaskets to prevent leaks. Tighten the pipe connections carefully. You can use a torque wrench to ensure the correct tightening torque.
Testing the Installation
After the installation is complete, it's time to test the heat exchanger. Fill the system with water or the appropriate fluid. Check for any leaks at the pipe connections and the heat exchanger itself. If you find any leaks, tighten the connections or replace the gaskets.
Start the pumps and the heating or cooling system. Monitor the temperature and pressure of the fluids. Make sure the heat exchanger is functioning properly. Check for any unusual noises or vibrations. If you notice any problems, stop the system immediately and investigate the cause.
Maintenance and Troubleshooting
Even after a successful installation, you need to perform regular maintenance on the heat exchanger. Clean the unit regularly to prevent the buildup of dirt and debris. Check the gaskets and seals for wear and tear. Replace them if necessary.
If you encounter any problems with the heat exchanger, don't panic. Most issues can be resolved with a little troubleshooting. Check the fluid levels, the temperature, and the pressure. Look for any blockages in the pipes or the heat exchanger itself. If you're still having trouble, contact the supplier for assistance.
Conclusion
Installing a spiral plate heat exchanger in a limited space can be a challenging task, but it's definitely doable. With proper planning, preparation, and installation, you can ensure that the heat exchanger functions efficiently and effectively.
If you're interested in purchasing a spiral plate heat exchanger or have any questions about the installation process, feel free to reach out. We're here to help you with all your heat exchanger needs.
References
- "Heat Exchanger Design Handbook" by K. A. G. Fraser
- "Practical Heat Exchanger Design" by D. Q. Kern